This post contains affiliate links for your convenience, in which I will earn a commission from.

What Are Presets?
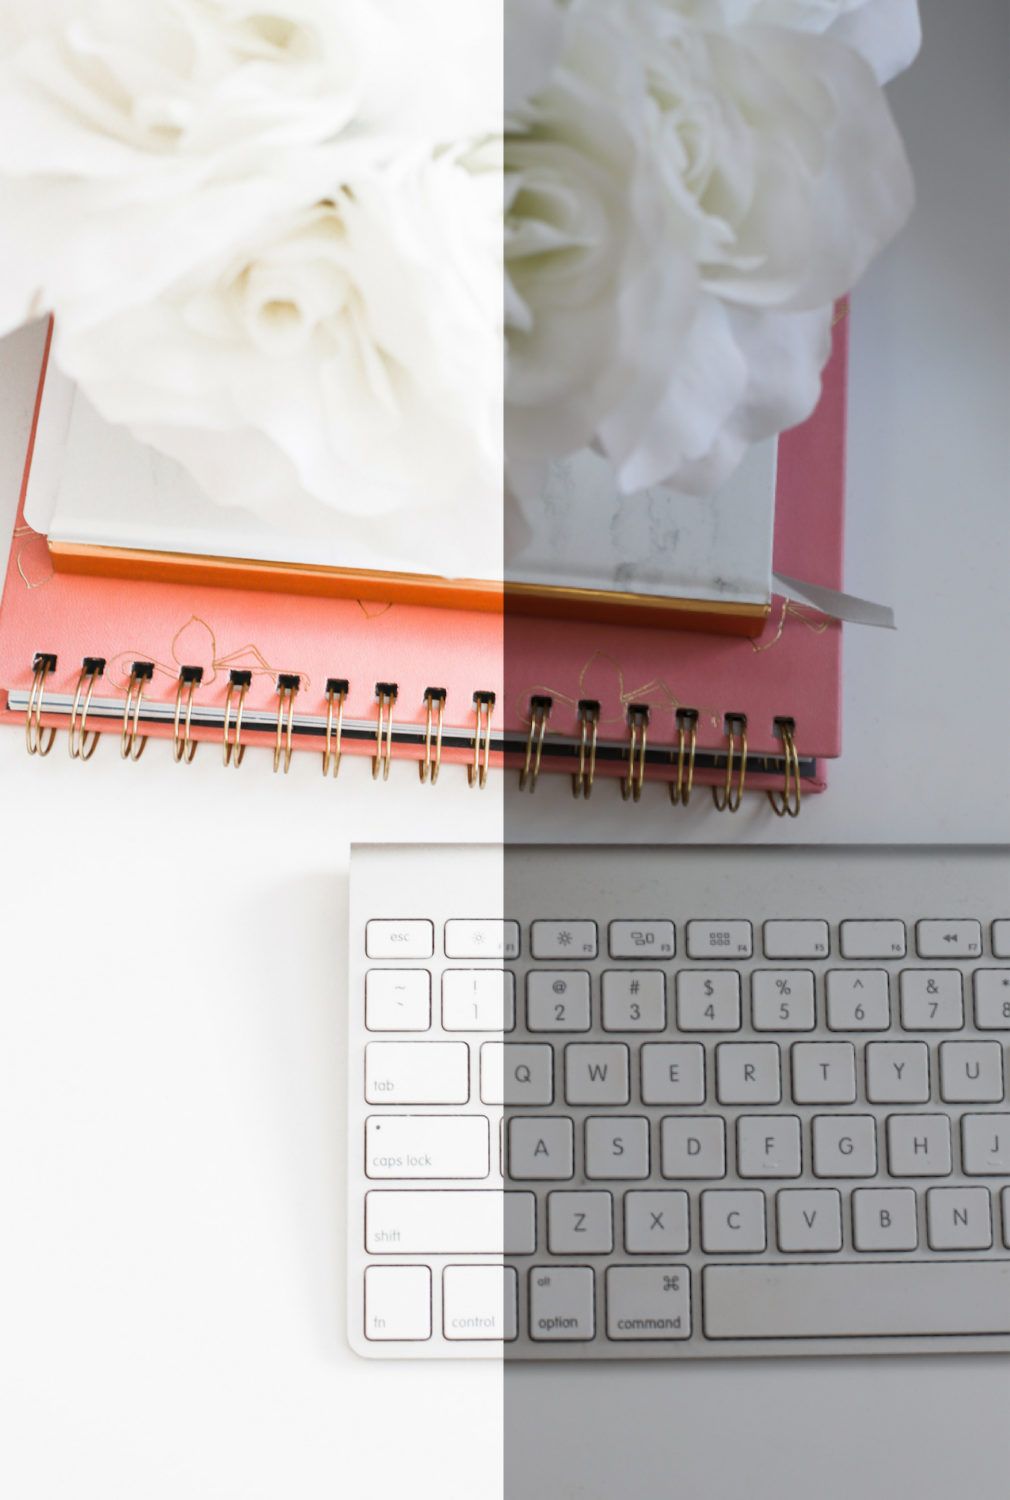
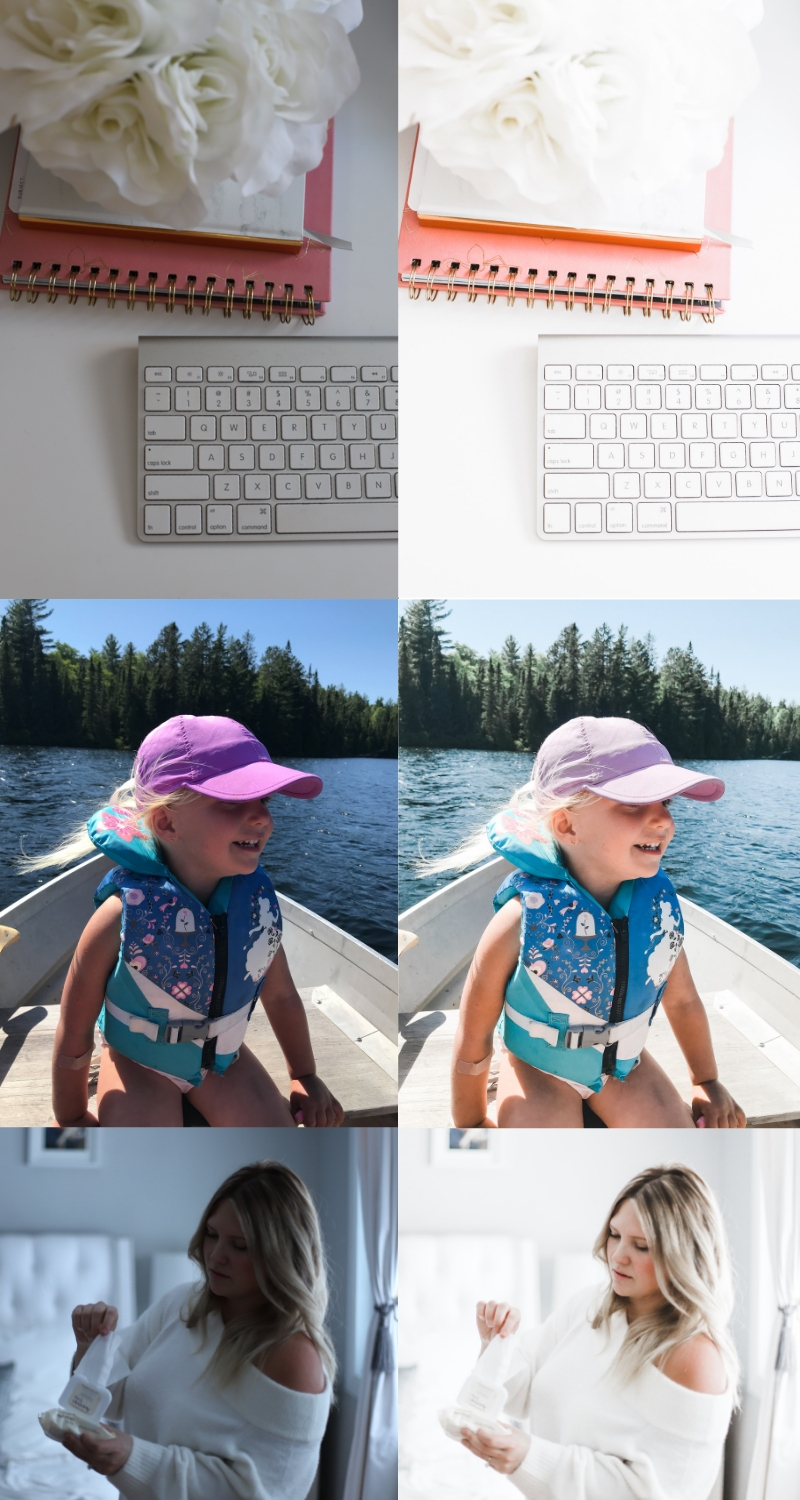
Think of them as filters. They are a customized editing ‘filter’ that you apply to each of your photos to get a consistent look. Rather than editing each of your photos manually, which can be extremely time consuming, you can apply the perfect recipe to each and every photo. And from there, adjust accordingly, if needed.
Not only are presets convenient to use, but they save you a ton of time. With a good preset collection, simply select the desired preset to apply and then only a few further adjustments are required such as exposure and temperature. For example, if your photo was taken in harsh sunlight, you may need to cool down the temperature and even bring down the exposure. Everything else is expected to to be consistent when applying a preset to a photo.
Where are Presets Used?
Presets can be used in the Lightroom app on your phone, which is free to use for everyone. If you wish to edit on a desktop computer, you will need to purchase a monthly membership to use Adobe Lightroom, which costs about $11/month. This is something you may need if you are a photographer, entrepreneur, designer, marketer, business owner, etc – someone who will use the program frequently, with access to all of the tools.
On the other hand, you may just be a mom who’s looking to create prettier photos of their kids to share on social media. Or perhaps start a mom blog of her own. The possibilities are endless when you have a preset collection to start off with.
Use my link here to access the desktop version of Lightroom OR Photoshop for just $11/month.

How to Use Presets
Once you purchase and download your preset package, it may be downloaded onto your computer or phone as a zip file, or a file that consists of individual DNG files (the individual presets). Simply, unzip the folder to get access to the individual presets, if needed. Usually, instructions are included. If not, that’s why you’re here!
Shop my Light and Airy Preset Collection here.
BUY NOW – $59
Using Mobile Lightroom Presets
Open the Lightroom app on your phone. Just as you would upload photos to the mobile app to edit photos, you will upload the DNG files; which are your presets. Once they’re uploaded to your Lightroom album, pick which preset you want to use.
You may rename the DNG files to easily find and distinguish within your photo album in the app. When one is selected and opened, tap the three dots at the top and select ‘copy settings’ and then tap ‘ok’. Go back into your album and select the photo you wish to edit. Once opened, tap the three dots and select ‘paste settings’ to apply the preset to the photo.
Using Desktop Lightroom Presets
Open the Lightroom program on your desktop computer. In the top menu bar, click on Lightroom > Preferences > Presets. Click on the box titles ‘Show Lightroom Presets Folder’. Double click on the ‘Lightroom’ folder and then double click on the ‘Develop Presets’ folder.
Next, open finder or the documents which contain your new presets. Copy the preset folder and paste it into the ‘Develop Presets’ folder. Restart Lightroom by closing and opening it again. Import the photos you wish to edit into the Lightroom library, if you have not already imported any. From the editing bar on the side, select presets and select which one you would like to apply to your photo. That’s it.
Photography Tips
Depending on the lighting situation of how and where the photo was taken, you may have to make small adjustments like bring up (or down) the exposure, and maybe even adjust the temperature bar to how you want the image to look. That’s about it! A good preset involves very few adjustments afterwards.
I recommend straightening your photo by clicking on the crop adjustment and levelling the photo, using lines like furniture, trees, or walls to be your guide. The healing tool is also great for getting rid of small flaws or distractions in the photo, but keep in mind that it’s an editing tool only available in the paid version of Lightroom. The free app will have most, not all, of the editing features.
Great presets will work on mobile and professional photos. I recommend shooting your photos in natural light. If you are in harsh sunlight, try to diffuse the light, find a shaded area. Back to the sun. If it’s dark in your house, shoot close to a window to maximize brightness. If shooting food, up the sharpness during editing process to bring out every detail.
Shooting with a DSLR? Always shoot RAW images to get the most out of your images. The higher the quality of image, the easier the editing process!
RELATED: HOW TO START A PROFITABLE BLOG (A STEP-BY-STEP GUIDE FOR BEGINNERS, EARN MONEY IN MINUTES)
As far as my photography goes, I have used the same DSLR from March of 2016 when North South Blonde first launched. My Canon EOS Rebel Sl1. It’s a great starter camera however I do wish it had bluetooth to make transferring files easier. It’s small in size, easy to hold, and I love the touch screen. I plan to upgrade to the big and bad Canon 5D Mark iii, a full framed camera.
***UPDATE*** I now shoot with a full frame Canon 6d mark II which is still fairly affordable.
 As for my lens, I use a Canon 50mm 1.4 prime lens and I absolutely love it! It works amazingly well for achieving that blurred background, making it a great option for portrait and food photography. Keep in mind that it’s a lens that doesn’t zoom in or out. If you live in a small space, you’ll want a lens with a wider range like the 35mm. The lenses mentioned can be expensive especially when first starting out, a 50mm 1.8 lens is really all you’ll need at a fraction of the cost.
WANT MORE? VIEW THE TOOLS AND RESOURCES PAGE DEDICATED TO BLOGGERS AND ENTREPRENEURS
Have more questions about presets? Leave a comment below and let me know!


