An easy step-by-step guide for beginners on how to start a blog, set up a self hosted website, install WordPress.org and begin to make money in minutes!
This post contains affiliate links for your convenience, in which I will earn a commission from. All opinions are my own and the companies listed here are ones that I use and trust.
Blog to Earn Money, Make an Income
Have you always dreamed of starting a blog but never knew how to go about doing it?
Blogging may be a hobby for some, but it can potentially be a source of income for you and your family.
If you love to take quality photos and sharing what you’ve created with the rest of the world, then blogging may be right for you. It doesn’t have to be a hobby. You can make your own website and turn it into a business. Here’s how.
Related: 50 Ways to Make Extra Money From Home
Start a Blog – Step By Step for Beginners
- Find a niche for your blog
- Create a domain name
- Purchase a self hosted website
Think of a specific niche that you will want to write about. You want to attract a specific audience and serve those people’s wants and needs through your blog.
The more specific your blog topic, the better. For example, one audience is interested in vegan food, another audience is interested in parenting tips, and another audience would want to know all about how to save money, or travelling, or fashion.
Narrowing down your blog topic will help create a strong community of readers.
Brainstorm domain name ideas. Some of my favourite food blogs are GimmeSomeOven.com, DamnDelicious.com, PinchofYum.com, Hummusapien.com. Be unique and have fun with it!
If you want your blog solely based on you and your lifestyle, by all means make a business out of your own name.
How to Start a Profitable Blog
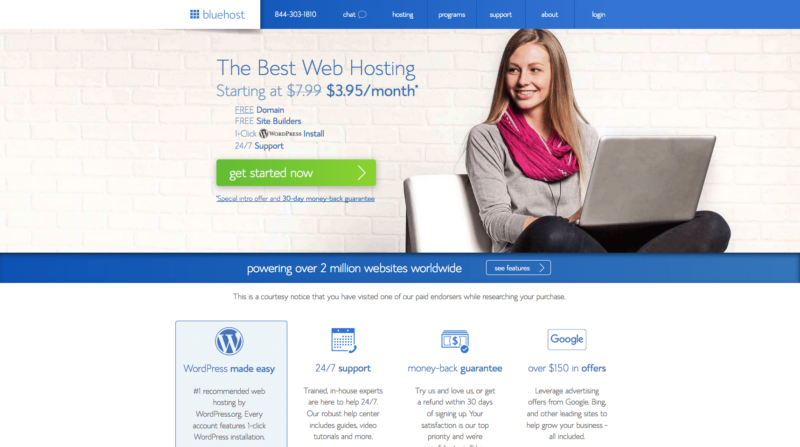
When you have an idea of what to name your blog, go to BlueHost to purchase your self hosted website. They provide you your domain name for free when you purchase one of their plans (other web hosts charge extra to register a domain name).
Easily register for as low as $2.68/month.
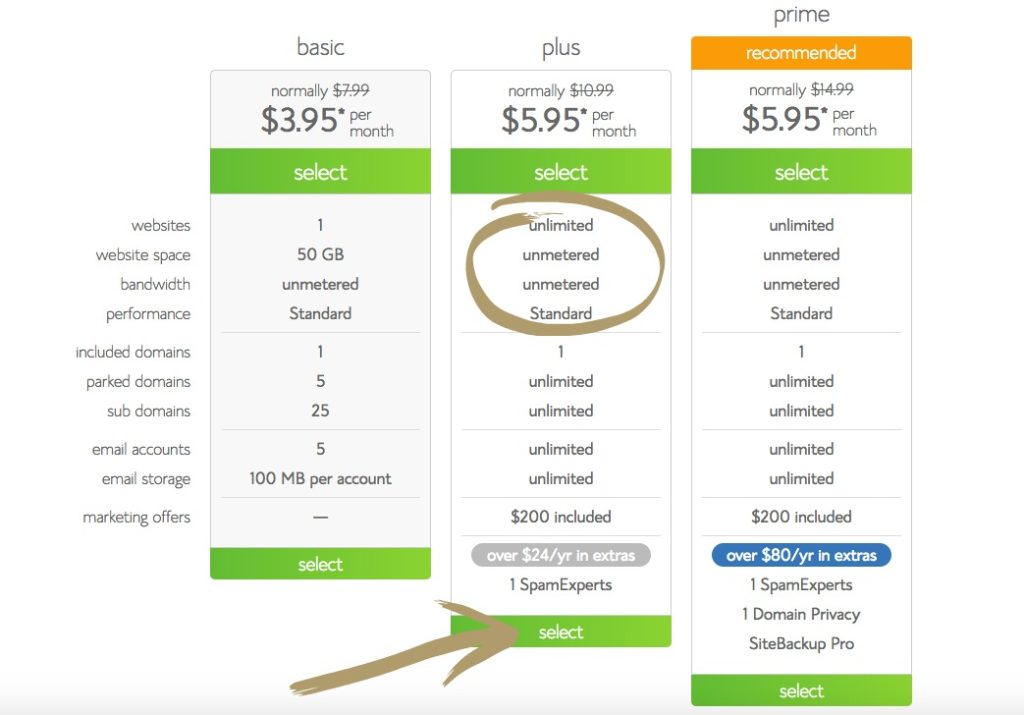
I use the PLUS plan for the unlimited media storage, meaning you can upload and store as many files as you like to your website! Feel free to go with the cheaper plan when starting off, you can always upgrade later.
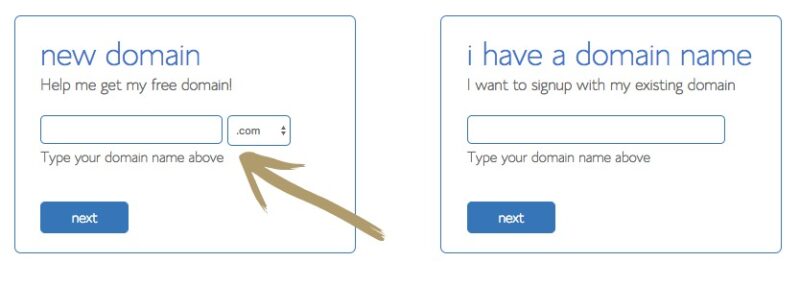
Next, check for your domain name availability:
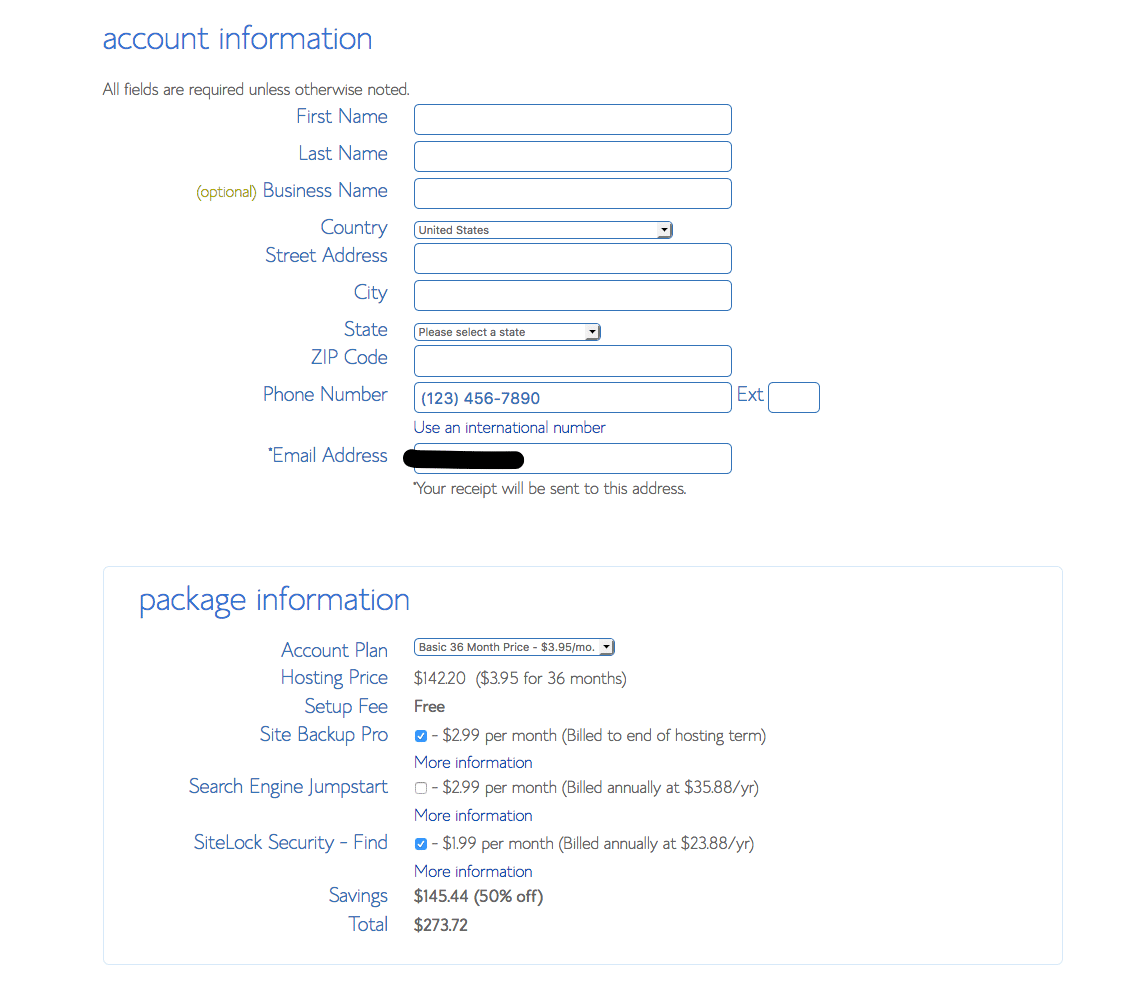
When choosing package extras, I recommend privacy protection and site backup so that your hard work doesn’t go to waste if your site ever crashes and your private information like your email address isn’t given out to spammers. You can choose which ad-ons you would like under ‘package information’.
Keep in mind that the more months you purchase, the bigger the discount. You can lock your website in for 36 months (three years) and get a great deal by doing so!
Continue by providing your billing information for purchase and you will receive email confirmation.
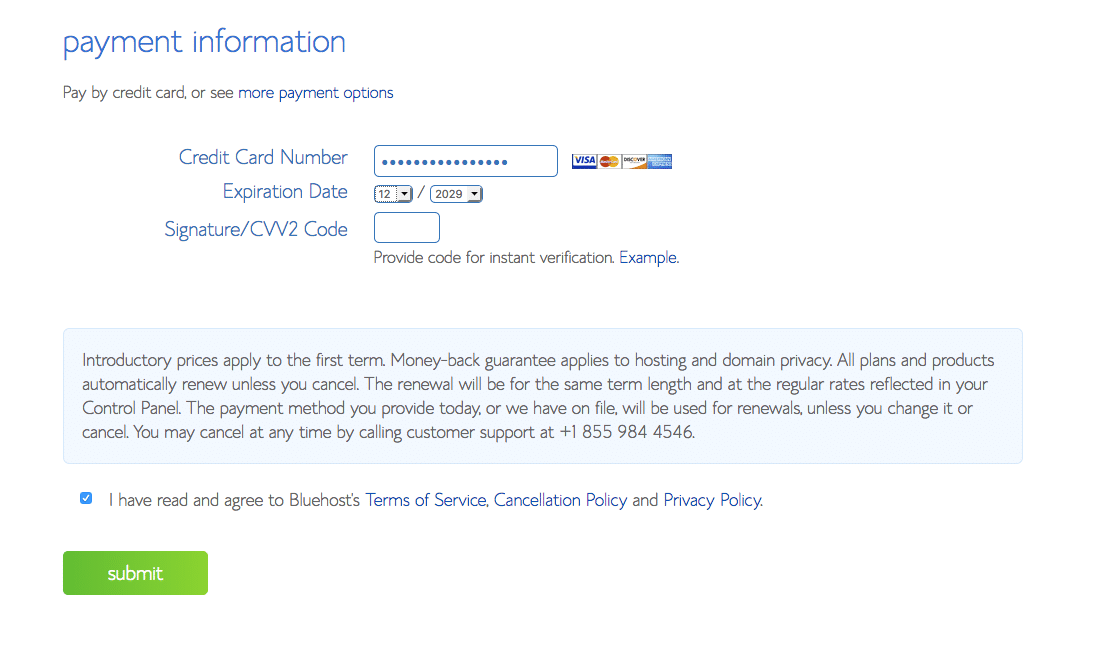
Congrats! You’ve just bought your first website!
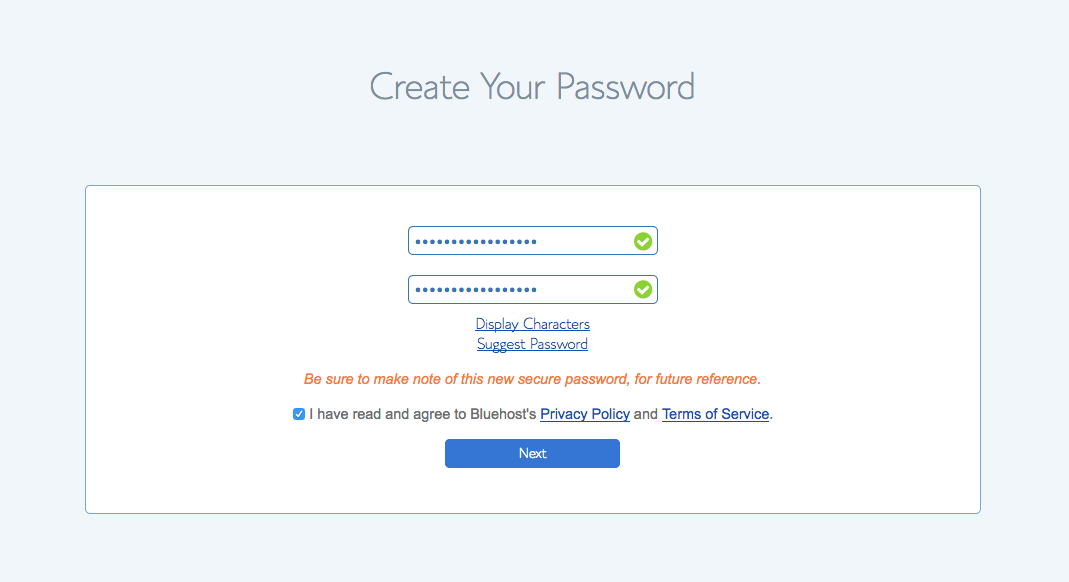
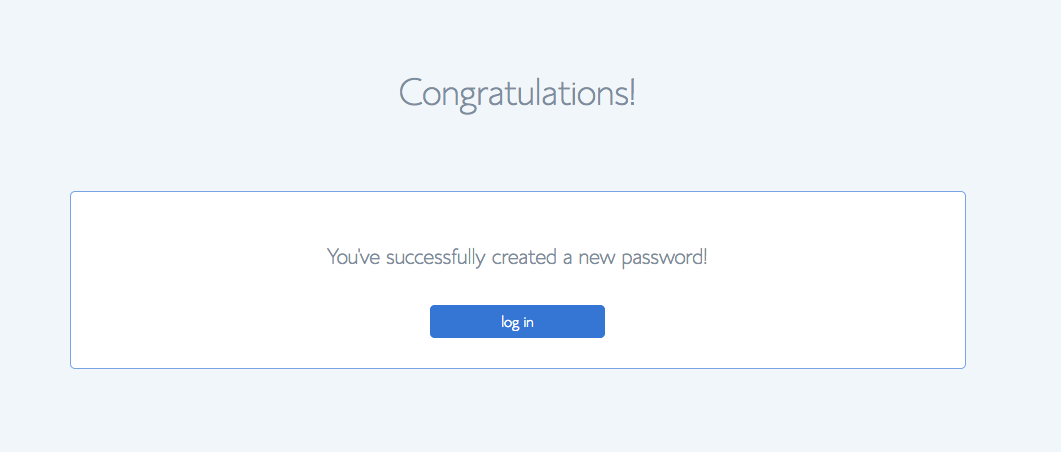
Next, choose your password. This is the password you will use to login to your BlueHost Dashboard and it is also used for verifying who you are when contacting support.
Be sure to write down your URL, Admin URL, Username, and password which you should also receive by email. You will be able to change your login information later.
Installing WordPress.Org
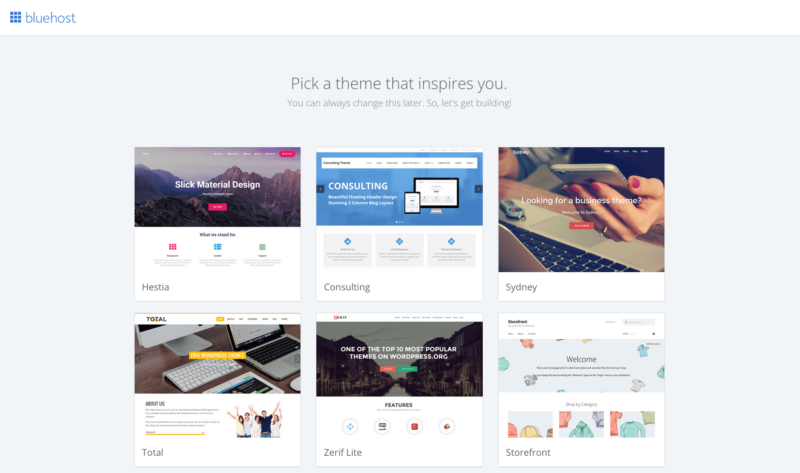
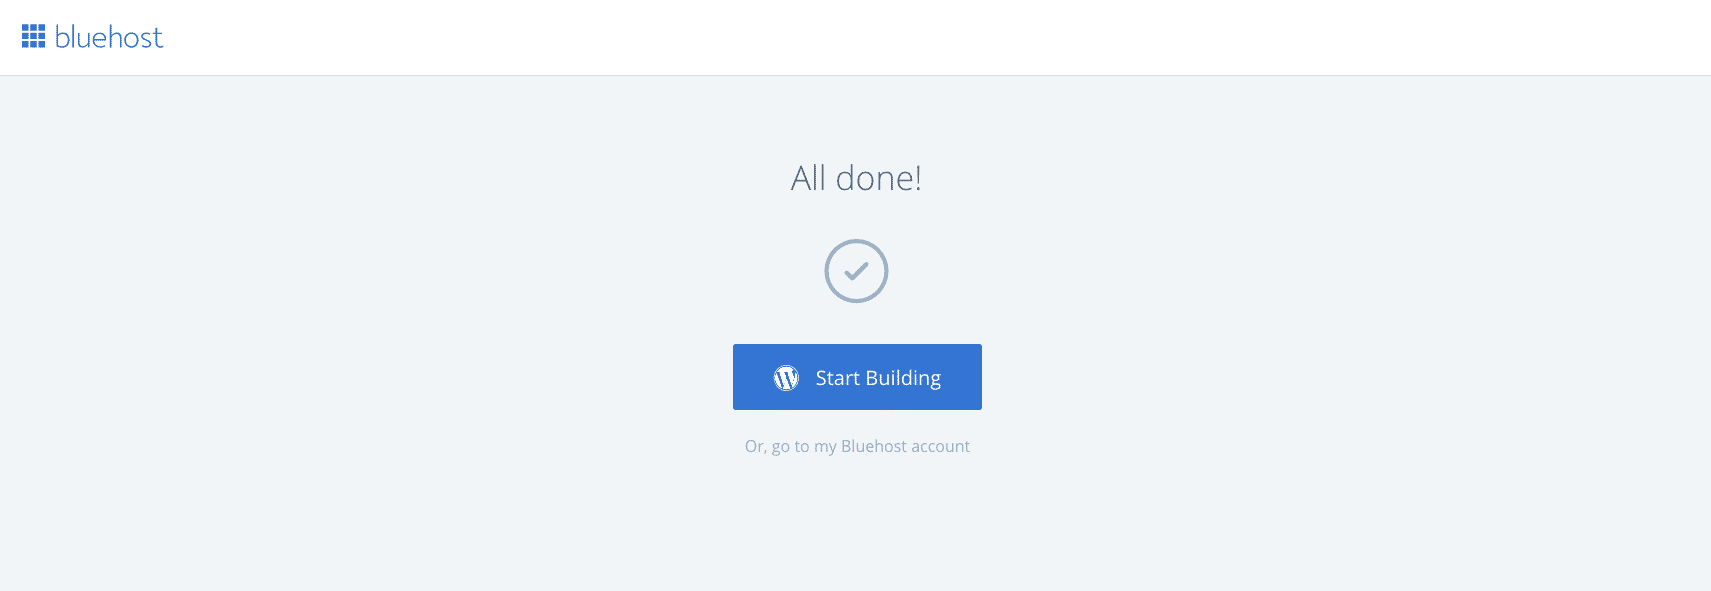
BlueHost uses a new updated sign-up process called BlueRock that automatically installs WordPress.org as soon as you purchase your website. You do not have to do any installing. WordPress is ready to use, simply start by choosing a theme for your website.
You will be able to start designing and posting on your blog. You’ll also be able to place ads on your website right away, earning you money when people view your site.
I use WordPress because it’s very easy to use. You can download plugins and design your blog in no time at all. They offer free themes to choose from which is great for starting out!
Enter the Admin URL into your browser and login to WordPress with the username and password you wrote down from the previous step.
You can also type your website url with /wp-admin at the end of it into your browser to access your WordPress Dashboard. For example: http://www.yourwebsiteurl.com/wp-admin.
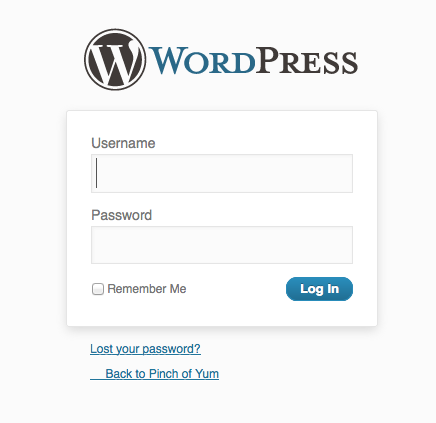
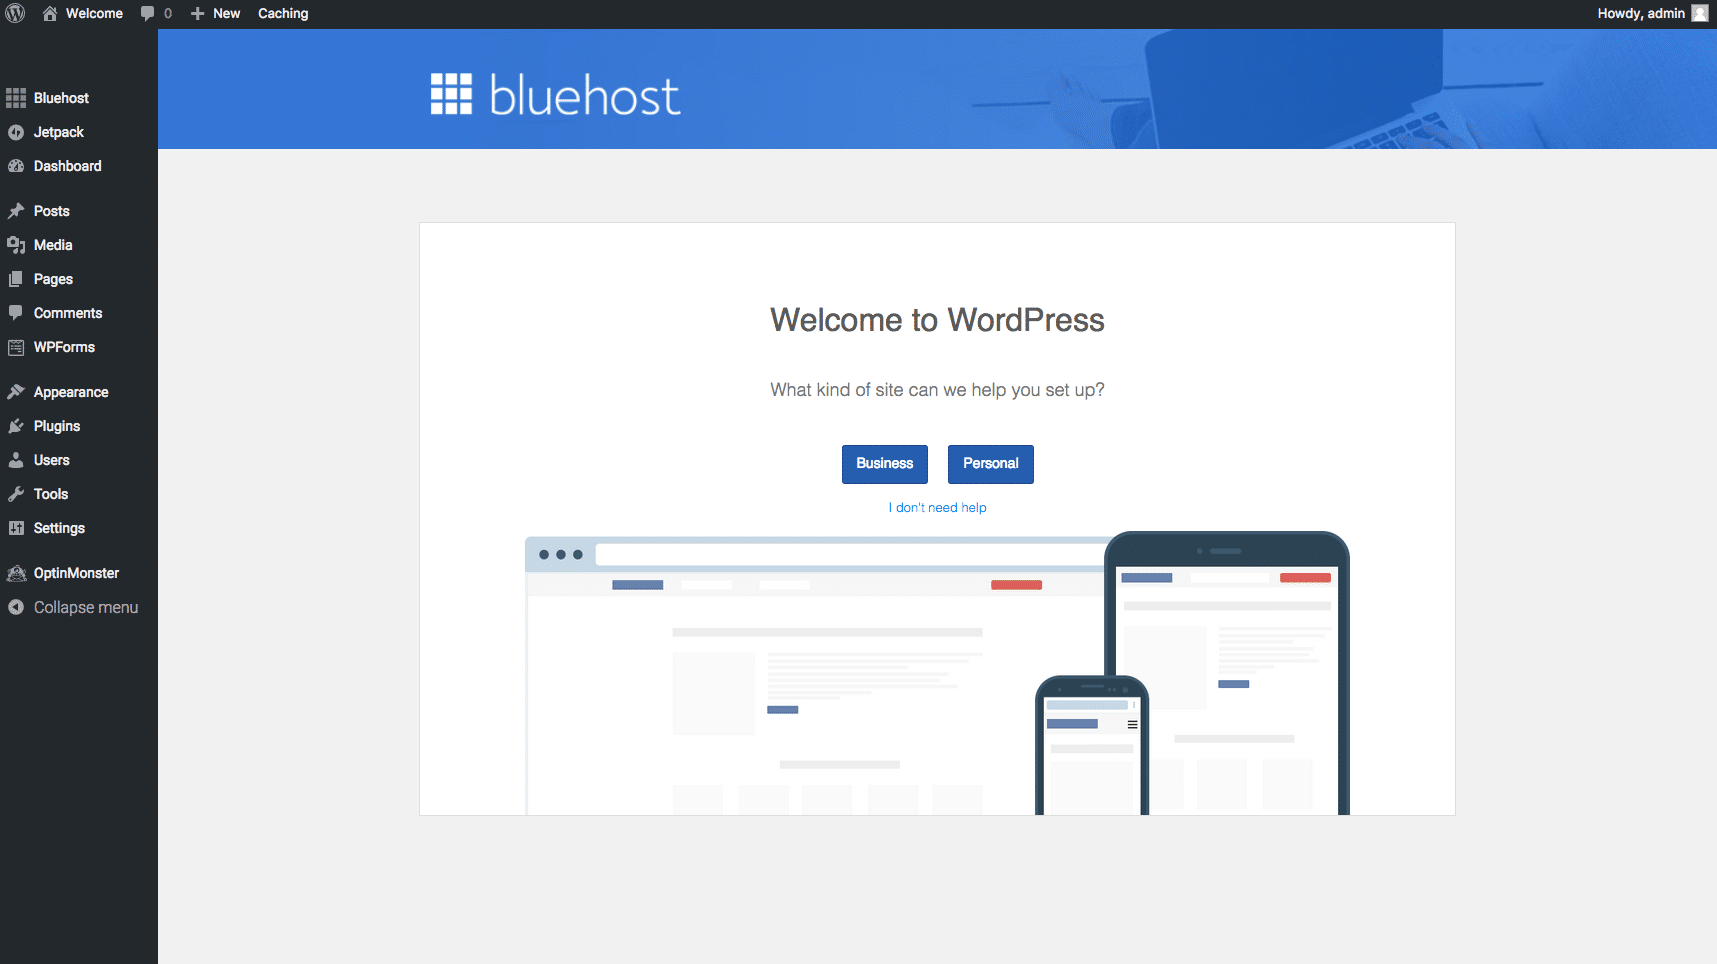
This is what your WordPress.org dashboard will look like:
Design Your Website!
Welcome to the blogging world! This is the fun part. You get to pick a theme–choose from plenty of free themes or simply purchase one. Then get customizing and sharing anything your little heart desires.
My very first theme for North South Blonde was the Button Theme which was simple and great for beginners, allowing you to add customizable widgets in a sidebar. It was free!
Now, I use The Genesis Framework where I can use custom CSS coding to change pretty much anything I want from font style to image hover opacities.
If you know how to use CSS, you can add it to any theme by activating the CSS WordPress widget in your sidebar. Otherwise, most themes will allow you to change the fonts and colours around to your liking. Remember that less in more and a clean looking blog will be easier to navigate.
How to Monetize Your Blog Right Away
Saving the best for last of course–start earning money right away from your blog.
Ads
When North South Blonde first started off, I immediately joined Adsense offered by Google, an ad company that pays you to place ads on your site, based on their impressions. Adsense also works with YouTube, allowing you to add ads to your YouTube videos.
What are impressions? The more traffic or views to your website, the more views or impressions on those ads, whether clicked on or not, will generate ad income.
I recommend Adsense because anyone can join, however they do have a $100 threshold you have to reach before getting a check in the mail. Once you’re signed up, you can copy and paste an ad code onto your website and start earning money immediately.
Another great Ad company that’s not only for food blogs is Gourmet Ads which will help you display ads to your site including video ads. The RPM is a lot higher and earns more money for your blog.
Once my blog traffic hit 50,000 plus page views a month, I switched to Mediavine and have been very satisfied with their support and ease of set-up. I highly recommend using Mediavine once your blog traffic increases significantly.
Affiliate Links
I also joined Amazon’s Affiliate Program where you can link any product sold on Amazon to your website. Basically, if people click through a product link and make a purchase on amazon (even if it’s not the product you linked to), you earn a commission at no extra cost to them.
You can also copy and paste one of their ad banner codes to post in one of your blog posts or on the sidebar of your main page. You will not get paid per ad click, but you will get paid if that person who clicked through ends up ordering something online on Amazon.
All you have to do is add the ‘Text’ widget to your sidebar and enter the ad html code!
Sponsored Posts
The higher the quality of your posts, the more traffic you are likely to bring in. Posting consistently will also build readership! Once you have significant traffic to your website, more business opportunities will open for you.
You can then look into sponsored posts (view one of my sponsored posts here) when you can showcase a product or brand and get paid for your honest opinion about it.
Instead of waiting for brands to contact you directly, you contact them! Don’t wait.
If you have a great idea for content creation, you can start pitching to brands by finding their media/marketing email under their contact menu on their website.
You’ll want to describe what you do, who you’ve previously worked with, similar work you’ve done and how it has performed, stats and analytics, and why you’d be a perfect fit for a collaboration.
Remember, the more seasoned you are as a blogger, the higher the rates you can charge for your work!
I hope you find this article informing and helpful! Do let me know in the comments below if you have any questions.
Get access to recommended tools and resources for bloggers and entrepreneurs. Visit the Resources page.

Pin for Later!




Okay I love this
Bookmarking this so I can follow these steps for Adsense
So glad this came in handy for you!!