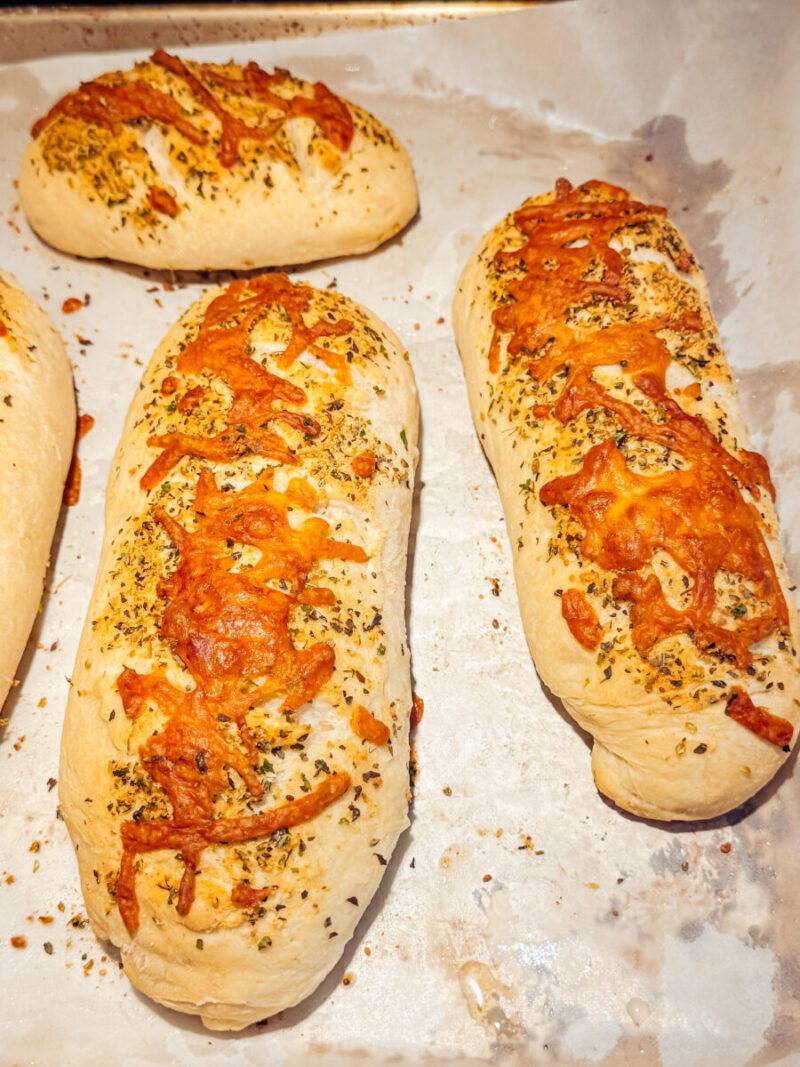
These homemade Italian herb and cheese sub buns are oven-baked, soft inside, and insanely flavourful. Great for busy families and back-to-school—make subs for lunches, dinners, or freeze them!
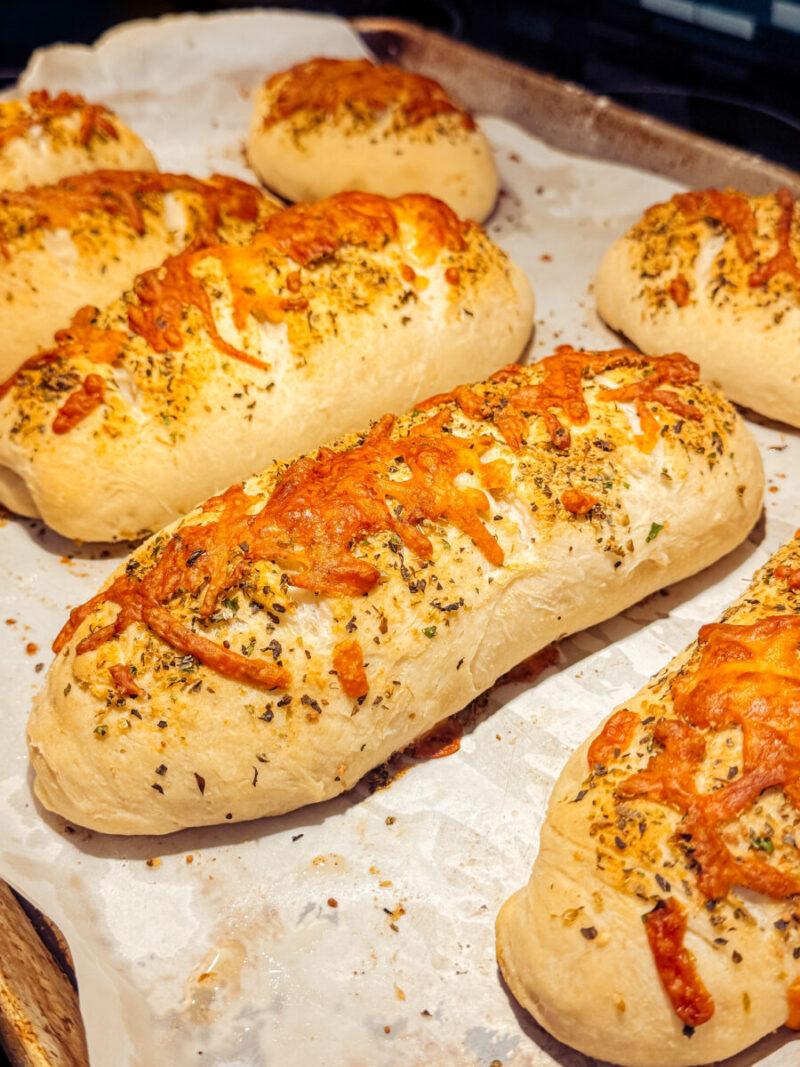
Sandwich Sub Buns From Scratch
Who needs Subway when you can make these delicious oven baked sub buns from scratch. Nothing beats the Italian herb and cheese flavour, not only will they make your home smell delicious, but will also pack a delicious taste.
You’ll only need just over 2 hours of your time to get started on the dough. Make ahead for weekday lunches, or simply store them in the freezer and defrost when needed. We just snagged a toaster oven and love using it for this exact purpose!
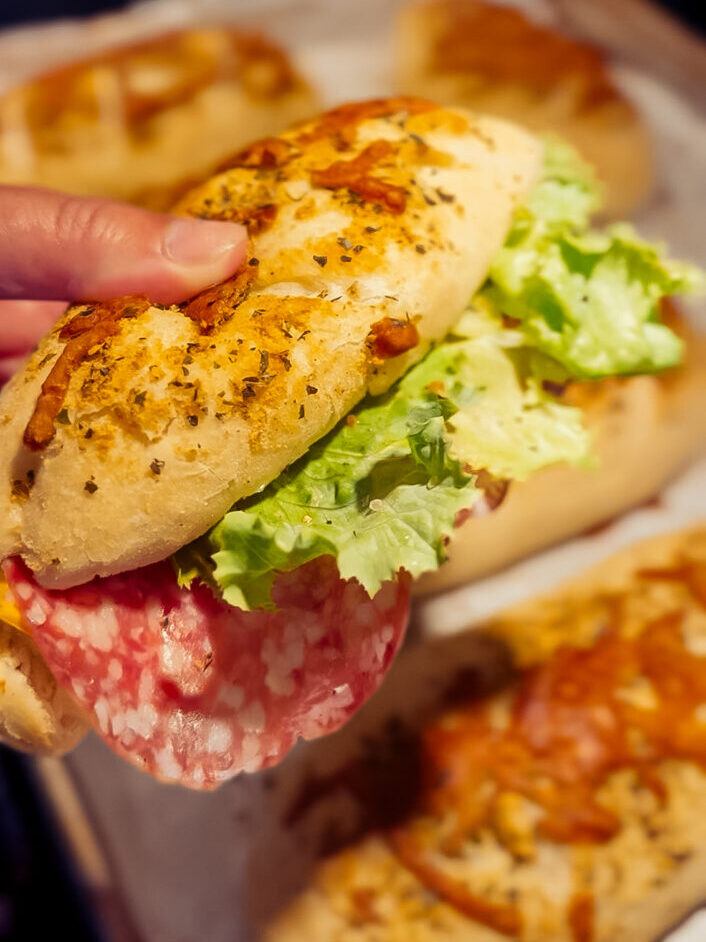
Homemade Sub Buns Save Time and Money
As a busy mom of three, I don’t always have time to run to the store to grab a loaf of bread. The solution is to simply make it myself, store in bag or container, or even freeze for later. Bonus points if you are an early bird and have time to make these in the AM!
More recipes from scratch you’ll want to try!
- High Protein Chocolate Peanut Butter Bars (GF, Low Carb, Keto)
- Mummy Rice Krispies for Halloween (Healthier, Sugar Free)
- Keto Pumpkin Snickerdoodles (Gluten-Free, Grain Free, Low Carb)
- Easy Salted Roasted Pumpkin Seeds (GF, Keto, Paleo, Whole 30, Vegan)
Healthier School Lunches for The Family
I love that these sub buns promote healthier lunches because you can add whichever protein you want, just like at the fast food joint.
Cold cuts, roasted turkey, chicken breast, tuna, or make it a meatball sub. These sub buns make it easy to add veggies, fibre, and protein into your family’s diet, rather than a traditional PB & J sandwich in a lunchbox.
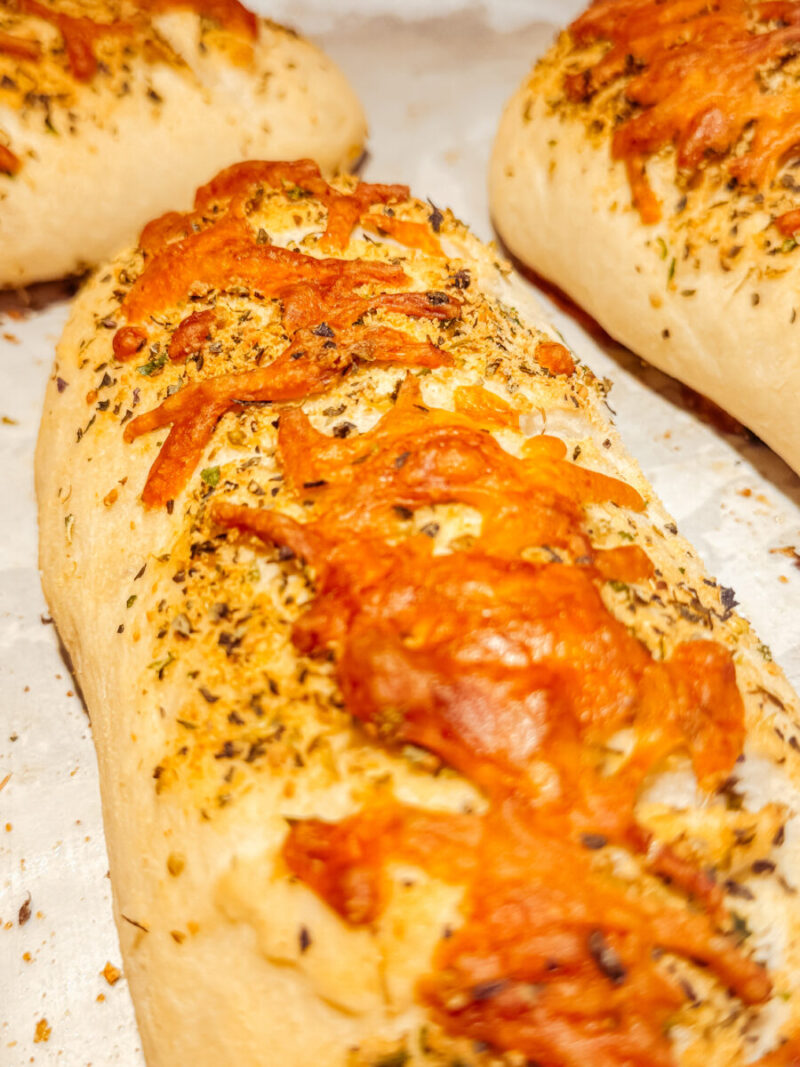
Sub Buns for a Quick and Easy Weeknight Dinner
You could, of course, make a traditional cold cut sub for everyone. Or, turn them into toasted panini-style subs. It’s impossible to get bored with the many sub variations you can whip up.
Adding meatballs and tomato sauce with cheese, or a pizza kind of sub with sauce, cheese, and pepperoni. Just toast or bake to warm up and done!
Quick and easy to make for weeknight dinners after a long day of work or school, or between sports practices and games. That’s a super easy mom win.
What You’ll Need to Make Homemade Sub Buns
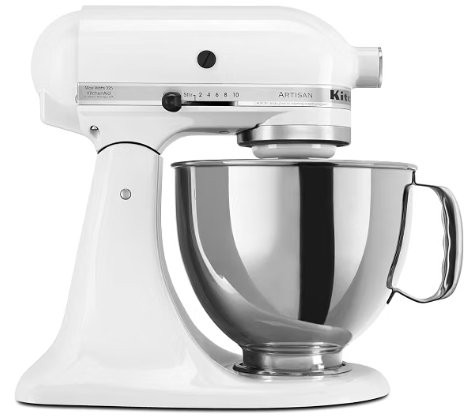
- A stand mixer with a dough hook – not mandatory, but does make life a whole lot easier. Instead of mixing the dough (and using all that muscle), you could use a stand mixer to knead the dough—which is fast, efficient, and give you a smoother ball of dough to work with.
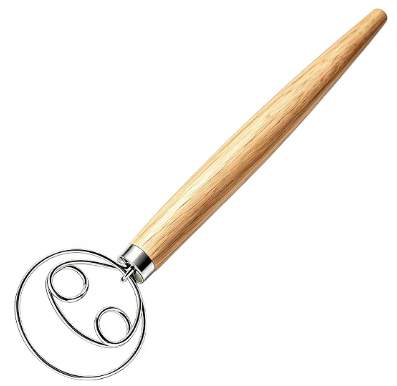
- A dough whisk – if you don’t have a stand mixer, it is highly recommended to use a dough whisk to incorporated the ingredients evening while mixing.
- Large mixing bowl with a lid – having a bowl with a lid just makes it that much more convenient when allowing your dough to rise instead of using a towel or plastic wrap.
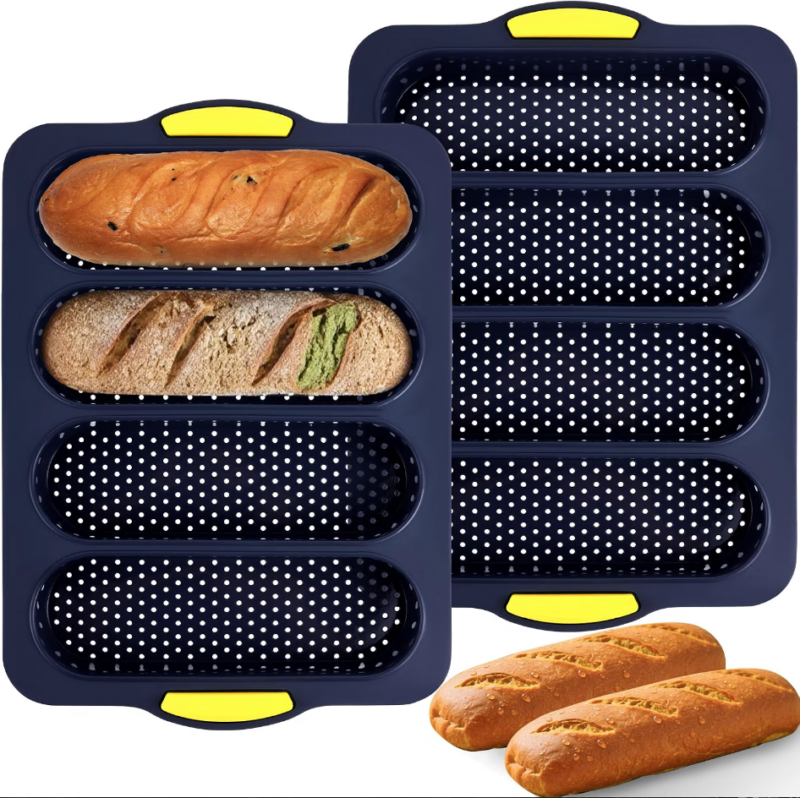
- A silicone bread loaf pan – this comes in handy for evenly spacing our your buns and making sure they’re the right size, minimizing sticking together during baking. The moulds are the perfect size for sub buns and the holes are great for even baking.
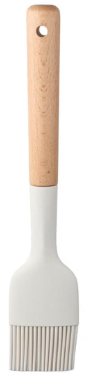
- Pastry brush – to evening coat the buns with olive oil before baking. This ensures the herbs and cheese stick to the most surface area on the buns!
Bread Bun Recipe Ingredients
- Warm water
- Active dry yeast
- Sugar (or honey)
- Organic bread flour
- Salt
- Italian herbs
- Shredded mozzarella cheese
- Grated parmesan cheese
- Olive Oil
How to Store Homemade Sub Buns
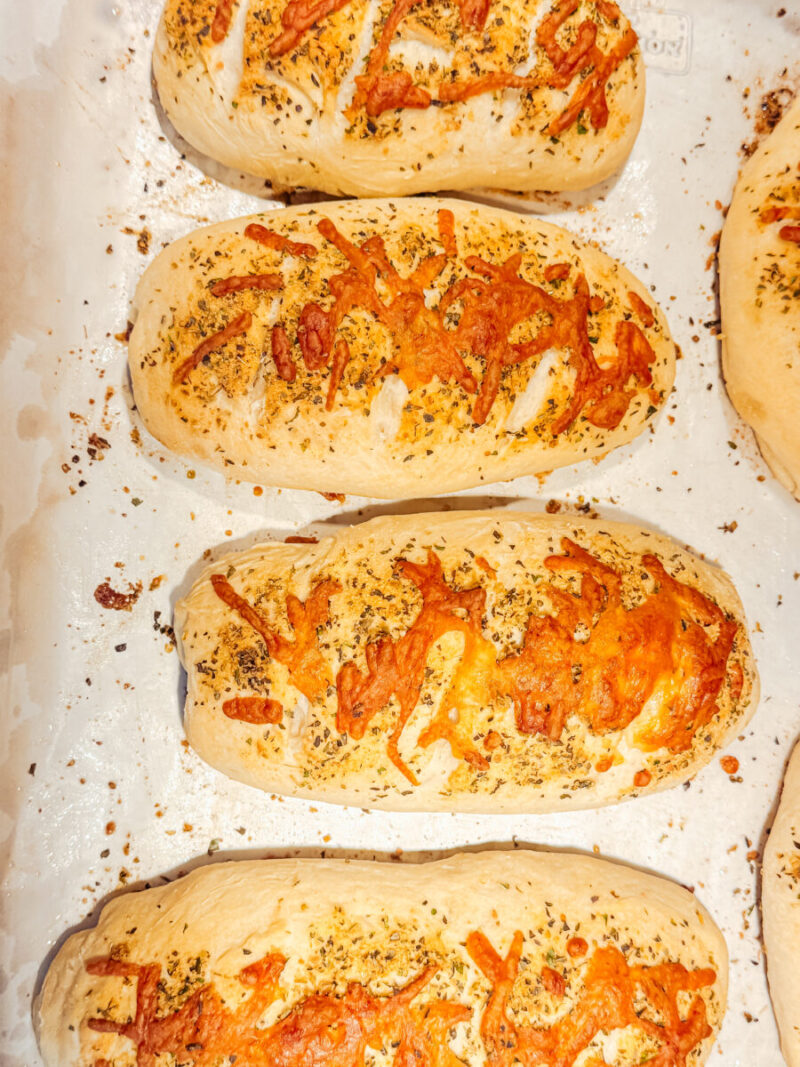
Firstly, let the buns cool completely after baking. The best way to store these delicious sub buns would be to put them in an airtight container or sealed ziplock bag for up to 4 days keeping them on the countertop at room temperature.
How to Freeze Sandwich Sub Buns
Again, let your buns cool completely and slice them lengthwise (all the way through or not—your preference), and place in an airtight container or sealed freezer bag. Place into the freezer to store and freeze for up to 4 months.
How to Reheat Sub Buns
From the fridge – place in a toaster oven, or a toaster (flipping to toast the whole bun). The best way to reheat them would be to bake in a preheated oven at 350 for 10 minutes.
From the freezer – defrost sub buns by placing them directly in a preheated oven at 350 degrees for 10 minutes, or let sit at room temp on the counter for 1-2 hours.
Italian Herb and Garlic Sub Buns
Equipment
Ingredients
- 1 ½ cup warm water
- 1 ½ tsp active dry yeast or instant yeast
- 1 tbsp honey or sugar (activates yeast)
- 4 cups flour organic, or 1:1 gluten-free flour
- 1 tsp salt
- ¼ cup olive oil
- 1 egg
- 1 tbsp garlic powder
- 1 tbsp oregano
- 1 tbsp basil
- 1 tbsp parsley
- 2 tbsp parmesan grated
- ¼ cup mozzarella grated
- 4 tbsp olive oil for coating
Instructions
- In a large mixing bowl or stand mixer, activate the yeast by whisking it in with warm water and honey or sugar and letting it sit for 5-10 minutes, until foamy.
- Add in flour, salt, olive oil, and egg. Mix using a dough hook for 5 minutes, or kneed by hand until well combined and a dough is formed. Wet hands with cold water to avoid sticking while handling. Oil the bowl and place dough back in, cover with a lid or towel and let the dough rise for 1 hour, as it will double in size.
- Section dough into 6 equal parts (for 12" foot long subs) rolling and folding underneath on all sides to shape them. Place seam side down and spread a part on a baking sheet lined with parchment paper.
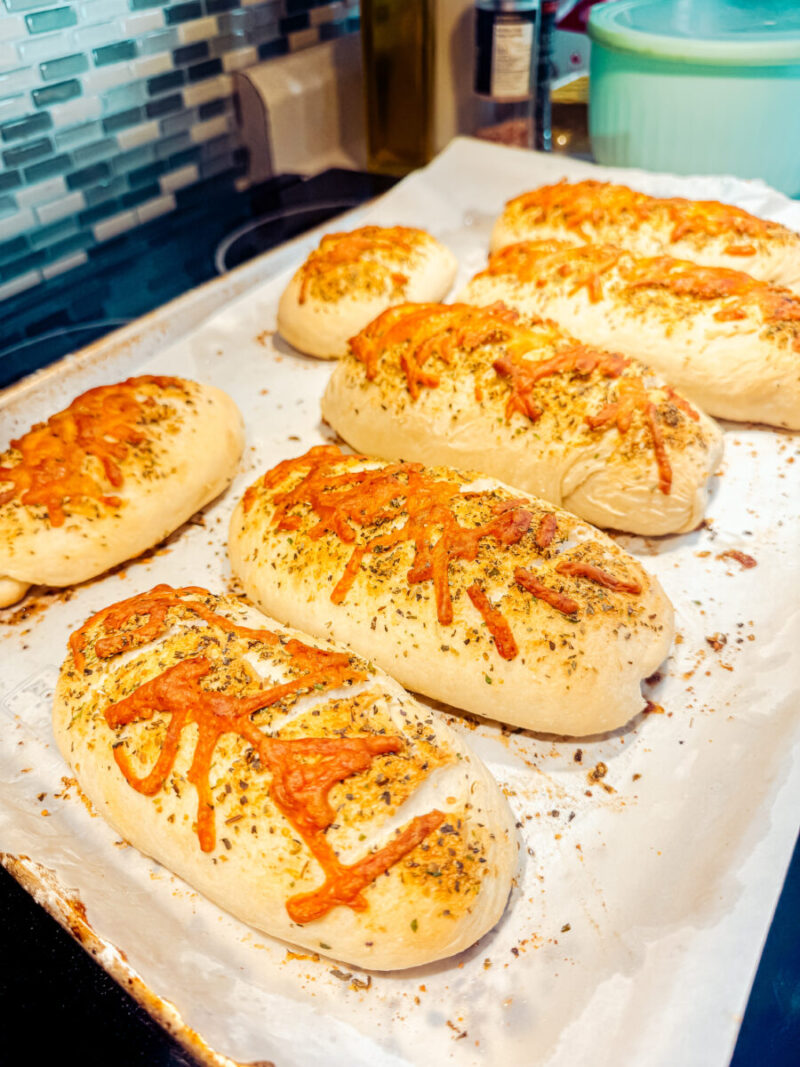
- Mix Italian seasonings with grated parmesan. Brush on olive oil on the tops of the buns, then sprinkle the seasoning blend. Top with shredded mozzarella and cover the entire pan with another baking sheet the same size (or use a towel or plastic wrap) and let rise for another 30 minutes.
- Bake at 350℉ for 25 minutes or until golden, and enjoy!

Leave a Reply