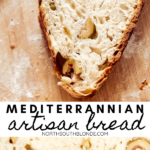


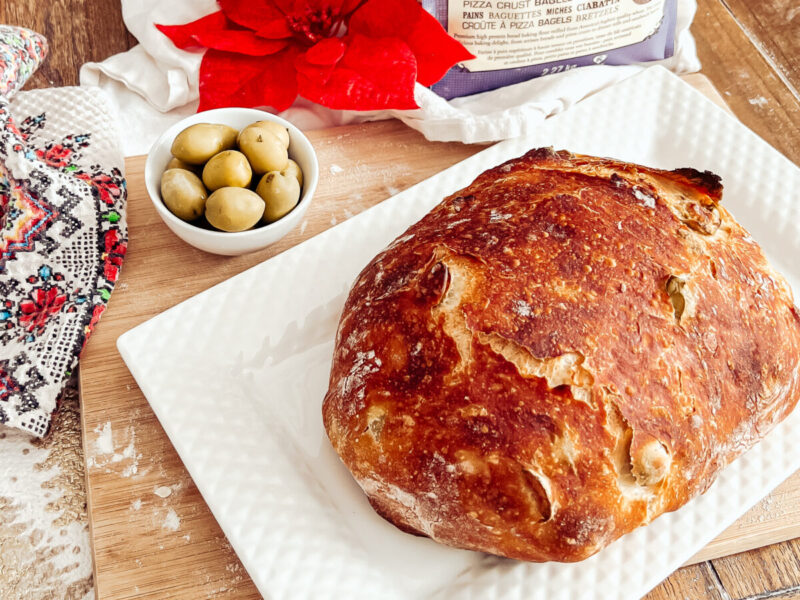
Mediterranean Garlic and Olive Artisan Bread
I love sharing easy and festive recipes for the holiday season that inspires. This is one of them.
Whether you are looking for a delicious homemade bread recipe to add to your collection, or something to impress, I’ve got you covered.
A few ingredients, but a lot of loving. The trick to making homemade artisan bread is all in the prep work!
Christmas Recipes You’ll Love:
- How to Make Stovetop Christmas Potpourri
- Vegan No Bake Christmas Almond Balls (Gluten-Free)
- Keto Cranberry Moscow Mule (GF, Sugar-Free, Low Carb)
- One Pan Cranberry Rosemary Chicken (Keto, Paleo, Whole 30)
Why You’ll Love This Bread Recipe
- The best part about this recipe is that it involves only a few ingredients you probably already have in your pantry.
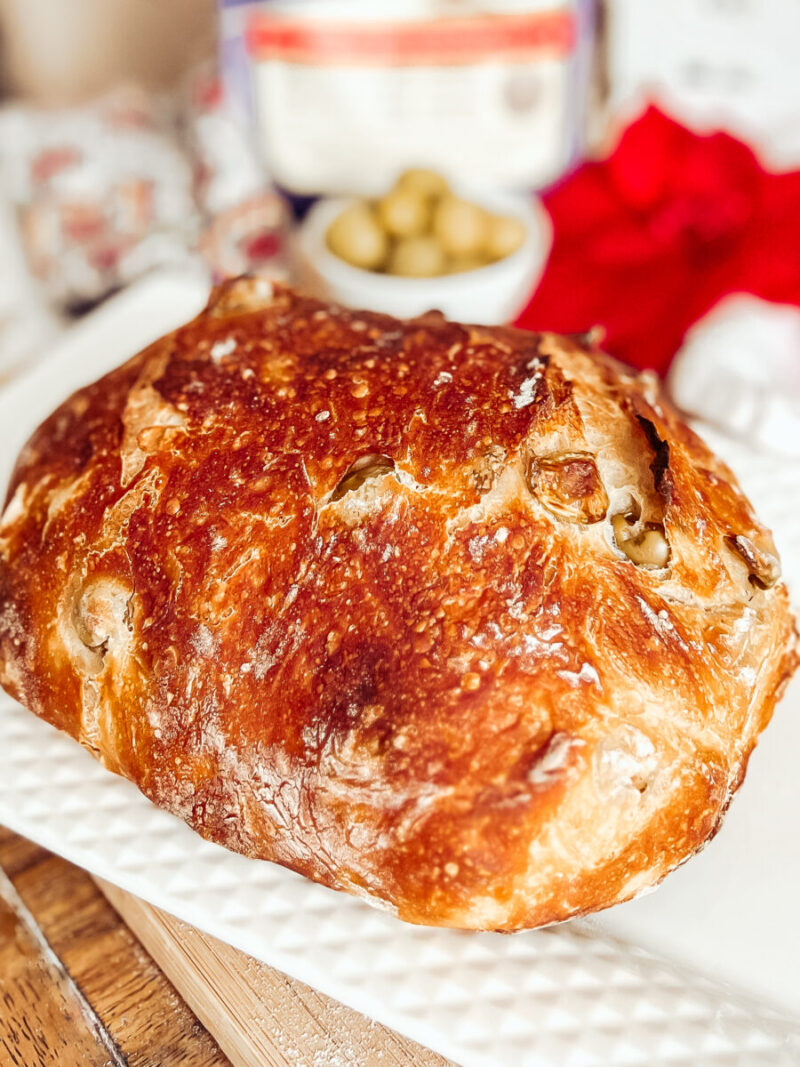
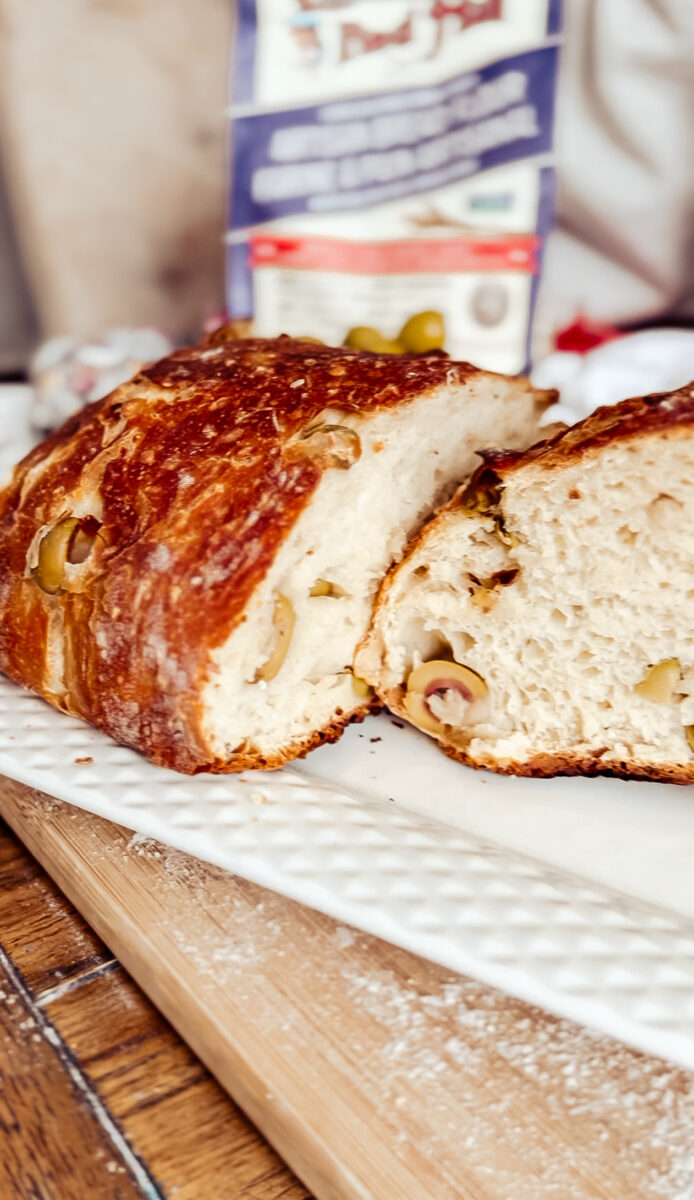
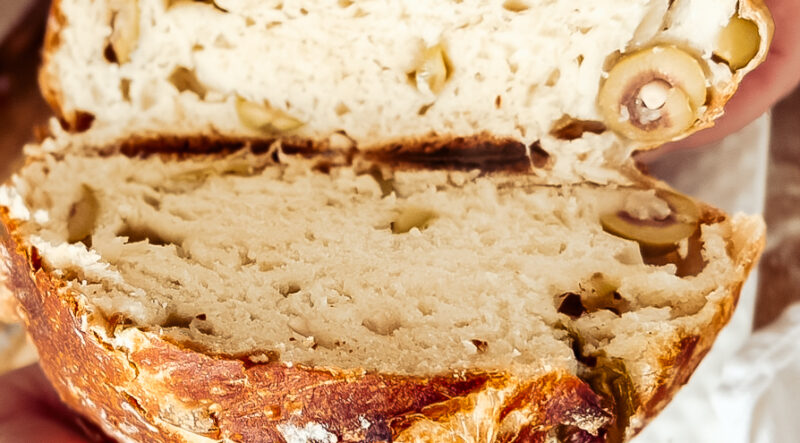
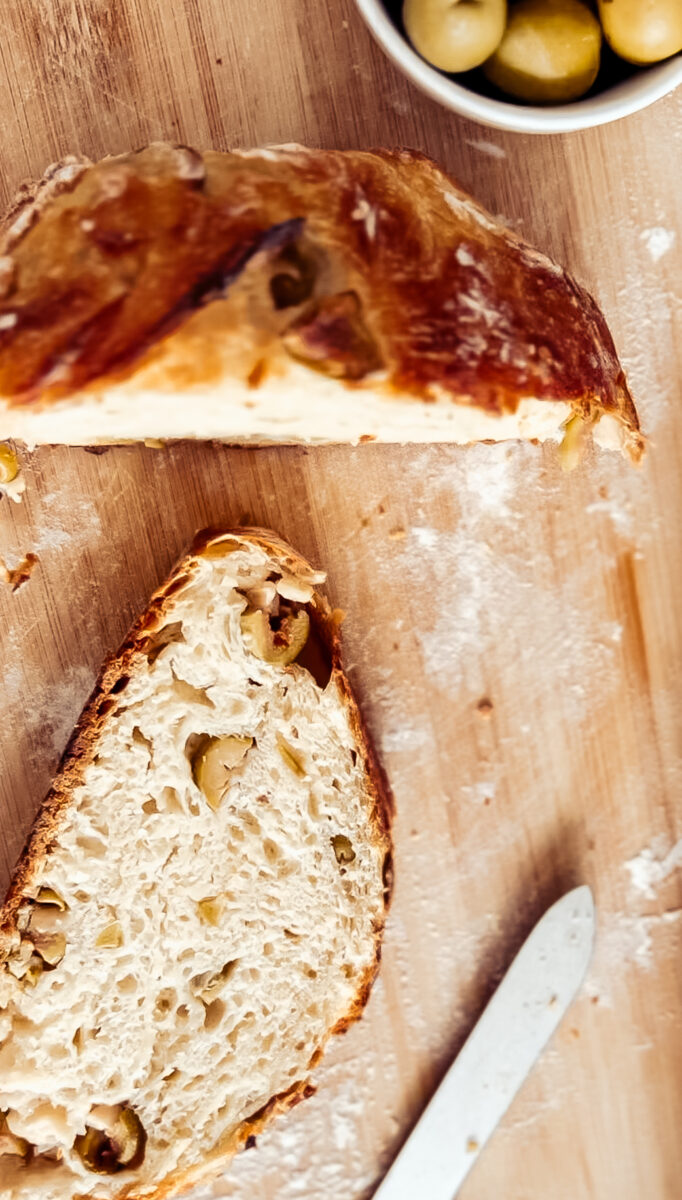
- It’s crispy and crunchy, yet soft and fluffy on the inside. I just love that this recipe is not your plain jane ordinary bread. It is extremely good on its own or toasted with butter.
- It’s made with light and fluffy artisan flour, mineral-rich salt, and the real winner – the garlic stuffed olives.
- Best served for guests, with a charcuterie board, some wine, cheese, and butter, or wrapped and given as a gift.
- Reap the benefits of the Mediterranean diet — olives are fermented and contain enzymes to balance your gut microbiome, promoting better gut health. It’s also great to add “clothes” to your carbs like healthy fats and proteins in order to reduce the blood sugar spike when consuming it.
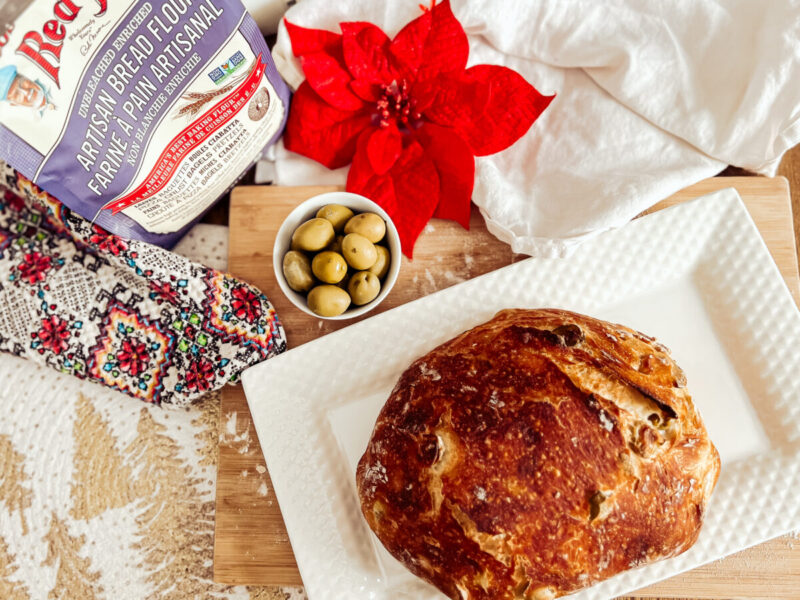
Garlic and Olive Artisan Bread Ingredients
- Bob’s Red Mill artisan flour
- warm water
- dry active yeast
- pink salt (contains more minerals)
- garlic stuffed olives
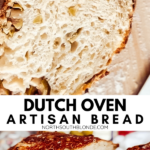
How to Make Artisan Bread In a Dutch Oven
- In a large mixing bowl, add the dry ingredients to and whisk together. Then mix in the roughly chopped olives, add pour in the warm water. Mix with a spatula until moist and a sticky ball of dough is formed.
- Cover tightly with plastic wrap and let the dough sit at room temperature for a minimum of five hours to let rise. At this point, you can begin baking or let sit even longer to rise, in the fridge overnight for at least 12 hours. Take the dough out and place it on a surface like a cutting board dusted with flour.
- Gently stretch and fold the dough, shape into a ball, cover with plastic wrap and let sit again at room temperature for 30 minutes.
- Meanwhile, preheat the oven at 450 Degrees Fahrenheit with a dutch oven inside, without the lid on.
- Place the dough onto parchment paper and into the preheated dutch oven and cover.
- Bake for 30 minutes. Carefully remove the lid of the dutch oven while baking. Bake for another 20-30 minutes or until desired golden and crispy.
- Remove and cool for 10-15 minutes before slicing.
What’s The Best Flour To Use?
Try to get your hands on Bob’s Red Mill Artisan Flour. It’s the perfect light and fluffy flour for all of your holiday baking needs.
If not, you can also use white all purpose flour or 1:1 gluten free flour although I have yet to try this as a gluten-free option.
Baking Tips For The Perfect Homemade Artisan Bread
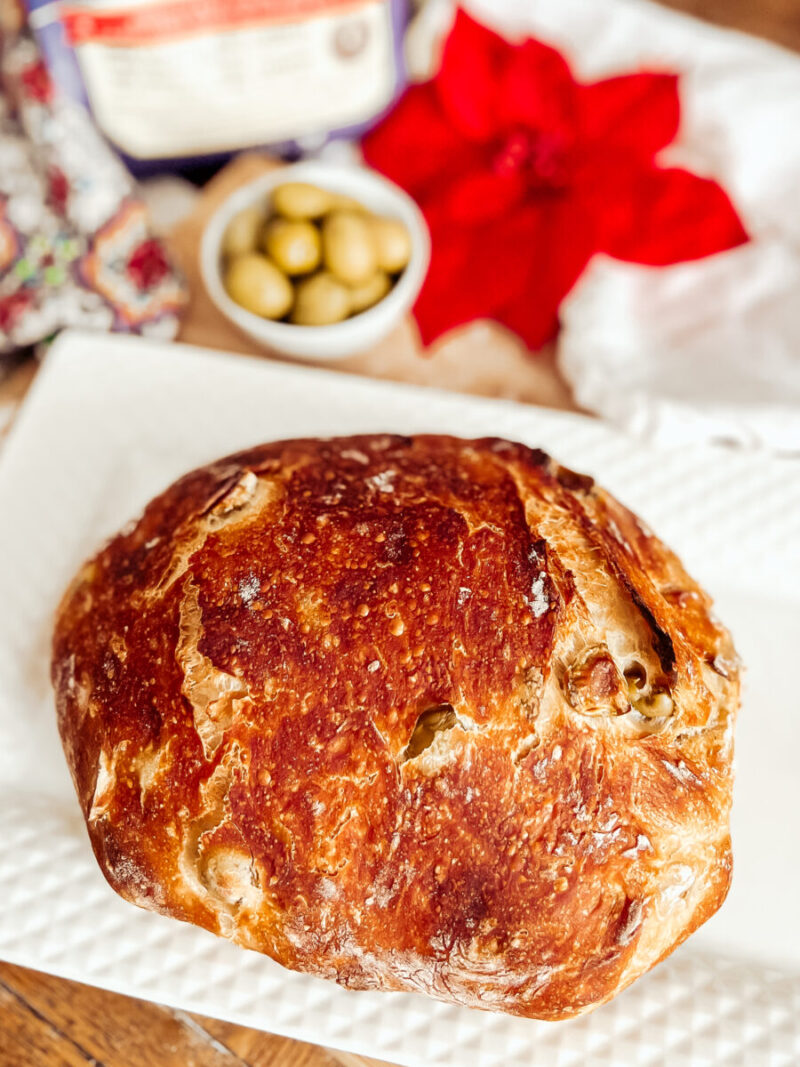
The key to that crispy outer crust is removing the lid of your dutch oven halfway through the baking time.
When covered, the moisture of the dough remains inside the bread to make it light and fluffy, and then removing the lid will allow the bread to crisp up.
I found that there was no need to score the dough before baking. If you do, just be careful that the edges don’t burn in those last few minutes of baking.
Allow the dough to fully rise by covering and placing in the fridge for at least 12 hours or overnight in the fridge.
Kneeding The Dough Is Not Required. I repeat: this recipe requires no-kneed dough.
In the hour before baking, I like to stretch and fold the dough and few times to strengthen the gluten fibres. But that’s it. Sprinkle some flour on top, let sit covered, then bake.
Gluten-Free Bread Options:
- Flourless Chocolate Chip Banana Bread (GF, Refined Sugar Free)
- Lactation Oatmeal Flax Banana Bread (Gluten-Free)
- Cinnamon Banana Bread (Gluten-Free, Paleo)
What to Serve With Garlic and Olive Artisan Bread
- Wine, cheese, butter, or with a festive moscow mule. The perfect addition to a charcuterie board.
- Alongside a healthy greek salad, or avocado salad.
- With some seasoned Cranberry Rosemary Chicken, sweet potato chicken stew, or oven roasted turkey.
- With a pasta dish like a zucchini lasagna or zucchini zoodles.
- Right beside a bowl of soup like cabbage soup, turkey soup, or bone broth.

Mediterranean Garlic and Olive Artisan Bread
Equipment

Ingredients
- 3 ½ cups artisan flour (unpacked, levelled) plus more for dusting surface area
- 2 ½ tsps active dry yeast or 1 packet
- 1 ½ tsp pink salt
- 1 cup garlic stuffed olives roughly chopped
- 1 ½ cups warm water
Instructions
- In a large mixing bowl, combine the dry ingredients together. Mix in the olives, then pour in the water. Mix with a spatula until a moist and sticky ball of dough is formed.
- Cover tightly with plastic wrap and let sit at room temperature for a minimum of 5 hours to rise.
- You can begin baking or let sit longer, in the fridge overnight or for at least 12 hours.
- Remove the dough and place on a surface dusted with flour. Shape into a ball, cover with plastic wrap and let sit at room temperature for 30 mins. Meanwhile, preheat oven to 450 with a Dutch oven inside (without the lid on).
- Carefully place the dough onto parchment paper and into the preheated Dutch oven, cover, and bake for 30 minutes.
- With an oven mitt on, remove the lid of the dutch oven and continue baking with the lid off for another 20-30 minutes or until the bread is golden and crispy.
- Remove the dutch oven from oven carefully, lifting out the parchment paper and bread out to cool for 10 mins before slicing. Enjoy!
Notes
Nutrition
Shop The Recipe

Pin It to Pinterest!

